How to reduce document size

Sometimes we add big images to a document, and reduce its size to fit our needs. But still, the document has a big size. Here we can see how to compress the images inside the document without losing quality but at the same time reducing the document size.

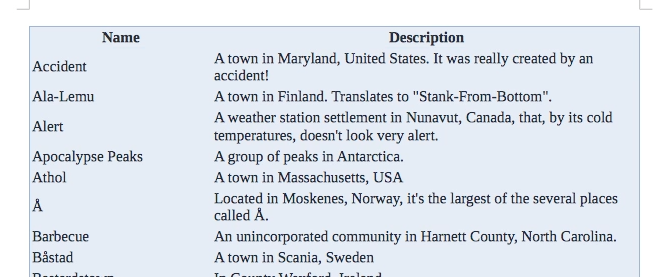
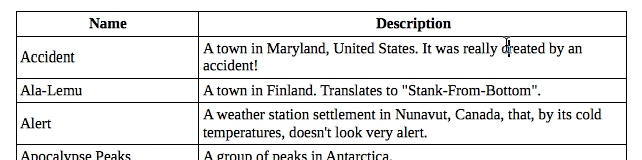
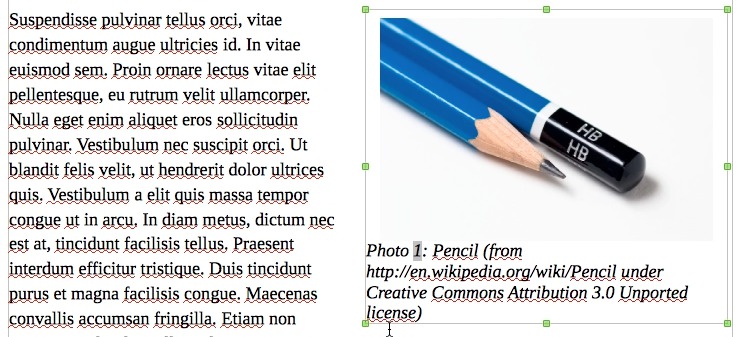
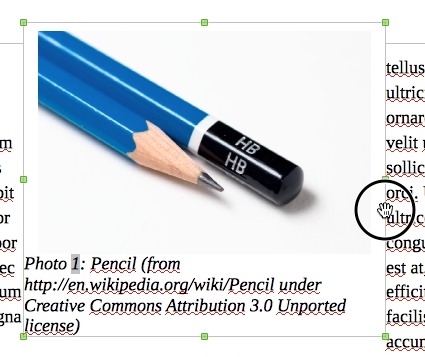
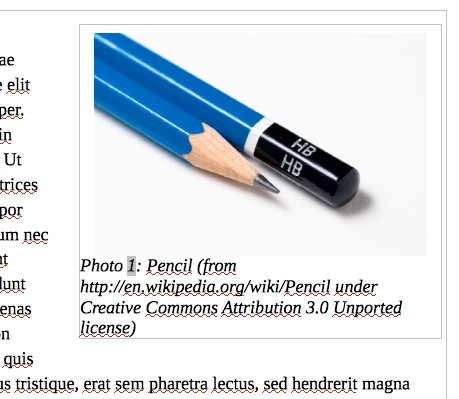
We start with a big image inside a text document:

Original document with big image

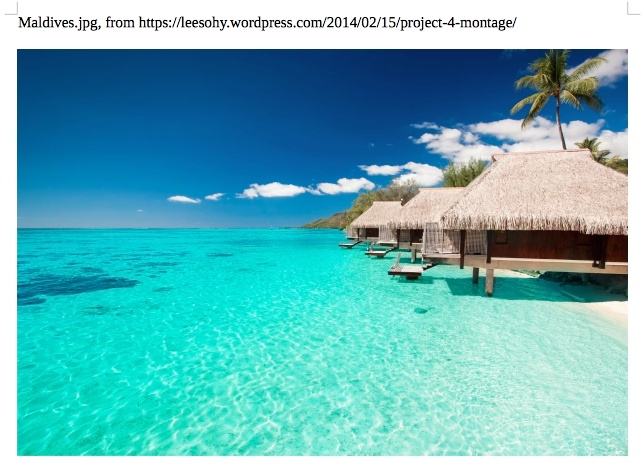
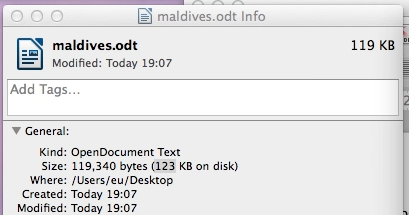
Because the image is big, the document is also big:

Original document Size

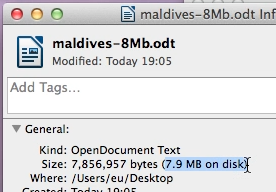
With a few more images, it can occupy too much. We need to compress the image, but without losing image quality.

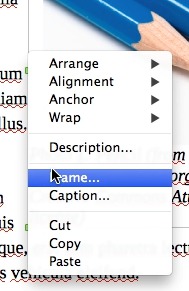
1. Select compress image

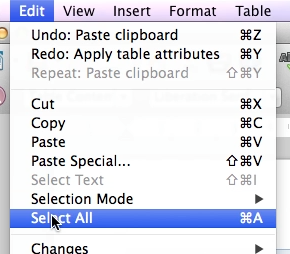
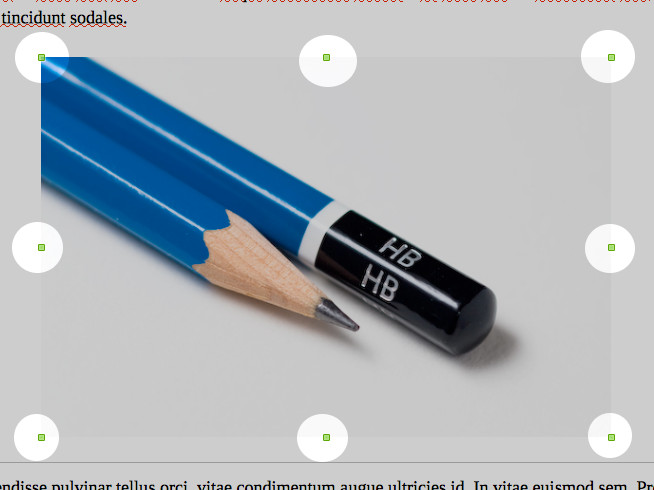
Click with the right mouse button on the image. A context menu will be presented. Click on “Compress Graphic”:

Select compress image

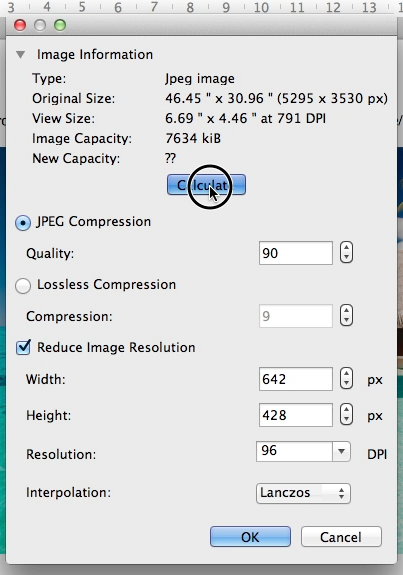
2. Calculate new size and apply

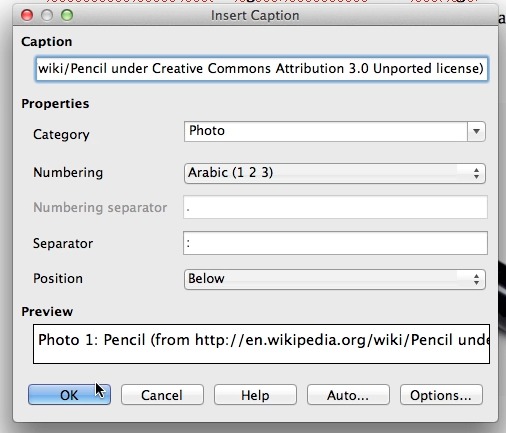
A compression dialog will be presented. Click on the “Calculate” button to determine the new size.

Click on calculate

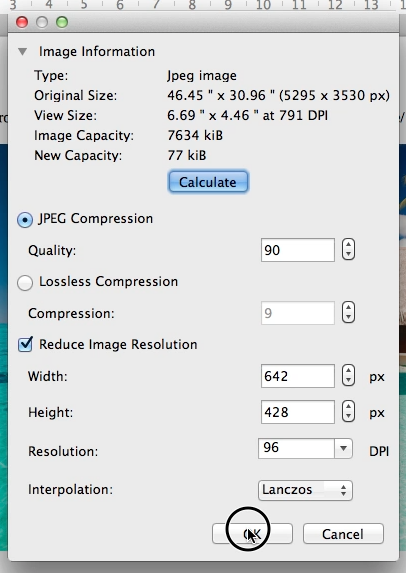
It might take a few seconds. Then click on “OK” to apply the new size. The dialog will close, and it might hang for a few seconds again.

Click ok to apply compression

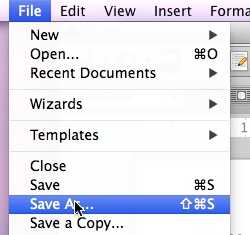
3. Save and compare sizes

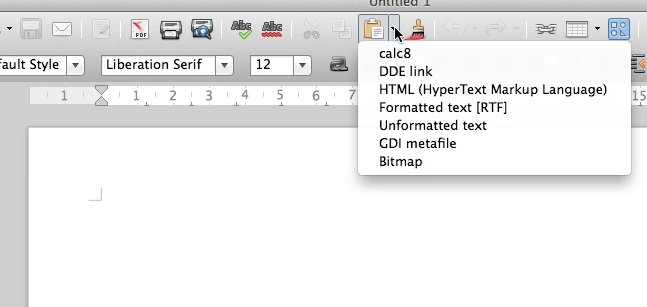
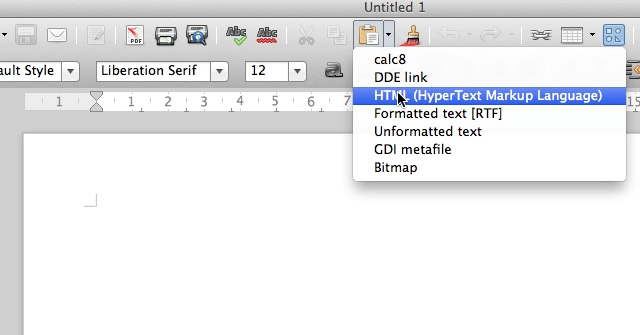
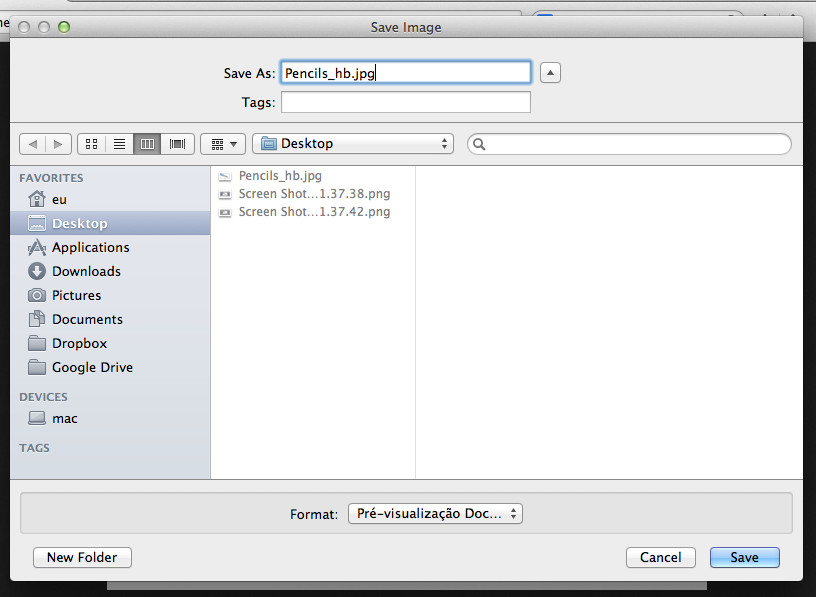
To compare sizes, we will save the document with a new name:

Save document with compressed image

And check the document size. Notice how it is much smaller than previously, while the image looks the same.

Size of document with compressed image

4. Done

And that’s it. Here is a video with all the steps above:

How to add table borders

1. Select first row of table

Click and drag across the first row of table in order to select it.

Select First Row

2. Select all rows

Click on Edit > Select All, to select all rows in the table.

Select All

Now the whole table is selected:

All Table Rows Selected

3. Open table borders menu

With the table selected, the tables toolbar will become visible. Click on the borders button to open it.

Click on borders roolbar button

4. Select all borders

Click on the button on the bottom right corner to add borders to all cells in the table.

Select all borders

5. Done

And that’s it. Now the table has borders on all cells:

Table with borders on all cells

Here is a video with all the steps above:

How to copy spreadsheet to text document

Here is an example of how to add a big spreadsheet inside a LibreOffice Write text document. The result is a nice table which we can make prettier later.

1. Select all rows and copy

First we select all rows in the spreadsheet. In this example I click on column A, hold and drag into column B.1-select-and-copy-all-rows-in-spreadsheet

2. Paste as HTML

Inside the text document, click on the past button dropdown. This will show a list of options.

2-click-on-paste-special-dropdown

Click on the “HMTL” option.

3-select-paste-as-html

3. Done

That is it, now the spreadsheet data is inside the text document as a table.

4-spreadsheet-is-pasted-as-table

Here is a video with all the steps above:


How to Add Table of Contents

Step 1 — Decide where it will be created

Add some space for the table of contents in the document. Depending on the size of the table of documents, it could be just below the title, or have its own page.

In this example, it will be below the title, and above the first section:

Add Space for Table of Contents


Step 2 — Insert table of contents

On  the top menu bar, click on “Insert” > “Indexes and Tables” > “Indexes and Tables…”.

Insert Indexes/Tables

This will open the “Insert Index/Table” window where we can customize our table of contents. For now, let’s just click on the “OK” button to create it.

Edit Index/Table

That is it, the table of contents will be created. The list is generated automatically using headings in the text.

Table of Contents


But if we change the text, the table of contents will need to be updated. To do it, go for the next and last step:


Step 3 — Update table of contents

Click with the right mouse button on the table of contents. A context menu will be presented. Click on “Update Index/Table”:

Update Table of Contents


Video

Here is a video showing these steps:


How to Put Text Around Image

In previous posts we have been adding images in the middle of the text. But the way we are doing it, the text needs to stop for the image to be presented. This way of placing the image inside text is called “Wrap Off”, and looks like this:

Wrap Off

It should work fine for most cases, but sometimes we want the text to be continuous, with images fitted inside. In that case we want to wrap the text around the image, like this:

Page Wrap

Here is how to do it:

Step 1 — Resize Image

To have the text around the image we need to leave some space for the text. The image from the example is a bit large so we will need to resize it.

Resize Image

Step 2 — Resize Caption Frame

The image from the example has a caption, which occupies space too. Because of that we will need to resize it. If your image is not inside a caption frame, skip this step.

Resize Caption Frame

Step 3 — Apply Page Wrap

At this step, the image will be selected, which is revealed by green squares around it. At the top toolbar, click on the “Page Wrap” button. This will make the text go around the image.

Apply Page Wrap

Step 4 — Move Image

Usually, when we change to Page Wrap, the text goes around both sides of the image. For this example I prefer the image to be on one side, and the text on another side. So we need to move the image. Click on the caption frame grey line, and drag it.

Click on Caption Frame

While it is dragged, a dashed outline is visible:

Moving Image

Step 5 — Add Spacing around Frame

To make the document more legible, we will add some space around the image. Click with the right mouse button on the caption frame grey line:

Click on the Caption Frame

A context menu will appear. Click on “Frame…”:

Caption Frame Context Menu

A new window with frame options will appear. At the top you can see the tabs. Click on the “Wrap” tab.

In the Wrap tab you will have a “Spacing” section. Add spacing on the left, right, top and bottom of the image. When you are done, click on the “OK” button.

Add Spacing

And that is it, the image will have text around it with enough space:

Image in Page Wrap

Video

Here is a video showing these steps:

How to Add Image Caption

Sometimes we want to add a small text next to an image. This post describes how to do it with LibreOffice. This is similar to how is done with OpenOffice.

Step 1 – Select Image

Click on the image to select it. You know it is selected because of the green squares on its edges.

Select Image

Step 2 – Insert Caption

On the top menu click on “Insert > Caption…”. This will open the caption edit window.

Insert Caption

Step 3 – Select Category

Each caption contains a number. This number is automatically updated when captions are added or removed and can be used for creating an image index (more on this in a future post). We can have many series of numberings. For example, we may have drawings and photos in the document and want each to be classified differently. To allow that, we can select a caption category. The next number added to the caption will depend on the category.

In the “Insert Caption” window, we can see there are already some categories we can use:

Select Caption Category

But we can create new ones by clicking on the input field, and writing any name we want. Given our example image is a photo of a pencil, a “Photo” category seems adequate:

Create New Category

Step 4 – Add Caption Text

Write the text which will appear in the caption. Do not forget to refer to the source of the image if you were asked to do so.

Add Caption Text

After you are done, click on the “OK” button to create the caption:

Create Caption

Image With Caption

Notice the grey background behind the number: it means this number is automatic.

Step 5 – Adjust Caption Area Size

Depending on the layout of your document, you may not want a caption with two lines. For this example, the solution is to increase the width of the caption frame. To do so, first click anywhere in the document but not on the image. This will deselect the image, making the green squares disappear. Then, click on one of the grey lines next to the caption text.

Select Caption Frame

The green squares will be again visible, but now they are selecting the caption. Drag the right one to resize the caption frame:

Resize Caption Frame

Video

Here is a video showing these steps:


How to Adjust Image Size

Inside the Document

Sometimes, the image we want to add to our document is larger than we would want. When that happens, we can resize it right after it is inserted:

Step 1

Click on the image to select it. You can see it is selected when it has small squares on its edges.

Selected Image

Step 2

Click on one of the green squares in the corners (I prefer the bottom right one), and hold the mouse button down as you move the mouse.  You will see a dashed outline representing the new size the image will have when you release the mouse.

Resizing Image

Step 3

Release the mouse button. This will change the image size to the dashed outline you seen previously.

Video

Here is a video showing these steps:

Using GIMP

Sometimes the image is just too large to resize inside the document. If you are having trouble resizing inside the document an external image editor can help. Personally, I prefer to use GIMP (click here to download it), it one of the most powerful open source image editing tools, and is available for free on all operating systems.

After GIMP is downloaded and installed, open it (the first time can take some time, it needs to catalog all fonts in the system).

Now, to resize your image:

Step 1

At GIMP top menu bar, select “File”, then “Open…”

GIMP File Open

Step 2

Navigate to your image, click on it, and click on the “Open” button. The image will be opened and ready to edit.

GIMP Image Opened

Step 3

At GIMP’s top menu bar, select “Image”, then “Scale Image”. This will open the scale image pop-up.

GIMP Scale Image

Step 4

At the scale image pop-up, ensure the top little chain is connected. So the image is resized keeping the relative width and height.

GIMP Keep Ratio

Step 5

Change the width, value as you need. The height will adjust automatically. When you are done, click on “Scale” button.

Usually 600px width works fine for me in a text document. But depending on how the image looks on your document you may want to change to other value.

Step 6

To save, click on “File”, then “Export As…”. Choose a name for it, and click “Export”. Another popup will show, just click “Export” again.

That is it, the image is now resized and ready to be imported into the document.

Video

Here is a video showing these steps:


How to import images from a website

This articles continues from the previous one on how to find usable images. Click here to read it.

Step 1

Open the maximum size version of the image
This depends on the image website, and might not be necessary. Place the mouse over the image. If it changes to a magnifying glass, then it will have a larger size. In that case, click with the left mouse button.

Step 2

Click on the image with the right mouse button. Or, for Mac users, Ctrl+Click.

Step 3

Click “Save Image As…”

Save Image

Step 4

Select where you want to save the image, and click on the “Save” button.

Choose Where to Save the Image

Step 5

Open your document, and click where you want the image.

Step 6

Click on “Insert” in the top bar, then “Image”, then “From File…”

Insert Image in Document

Step 7

Go to where you save the image, and click on it. Then click on “Open” button.

Select Image

Image in Document

That is it, the image is now in the document.

Video

Here is a video showing these steps:


How to find reusable images

Step 1

Open Google: http://www.google.com

Step 2

Write a word describing the kind of image you want to find. For example, let’s find the image of a pencil. Write “pencil” in Google search:

Google search

Step 3

Click on the “Images” tab. This will open the Google Images Search:

Google Image Search

Step 4

Click on the “Search Tools” button. This will open the Search Tools toolbar:

Google Images Search Tools

Step 5

On the Search Tools toolbar click on “Usage rights”, and select “Labeled for reuse”. This will filter the images so only those marked for resuse are listed:

Filter by Labeled for Reuse

Step 6

Click on an image you want. This will increase the image size, and show a “Visit page” button on the right:

Click on the Image You Want

Step 7

Click on “Visit page” button. This will open the original website where the image was presented.

Visit Image Website

Step 8

Look for the image in the website, and references to how to use the image you want
In the example, the website is wikipedia, which makes it easy: just click on the image inside the wikipedia, this will open a large area with the image and a “view terms” link on the bottom right. Clicking on it will open an area stating what we can do with the image.

In most cases this is not so simple, the terms might not be visible or not clear enough. When in doubt, look for a way to contact the website owner. Ask for permission before using any image that do not belong to you.

Open Image Inside Website

Read Reuse Terms

Video

Here is a video showing these steps:

How to hide page numbers in first page

This requires you to first have added page numbers, click here if you want know how to do that.

To hide page numbers from the first page, we will need to apply a page style to the first page of your document:

Step 1

Click anywhere in the first page of the document.

Step 2

On the toolbar, select open the styles list, and click on “More…”. This will open a popup with all styles you can apply.

Open styles list

Step 3

On the styles popup, click on the Page Styles button. It is the one with a little page in it:

Select pages style

Step 4

Double click on the “First Page” style

Select first page style

That is it, now all pages except the first one have a page number.

Video

Here is a video showing all these steps: