How to Put Text Around Image

In previous posts we have been adding images in the middle of the text. But the way we are doing it, the text needs to stop for the image to be presented. This way of placing the image inside text is called “Wrap Off”, and looks like this:

Wrap Off

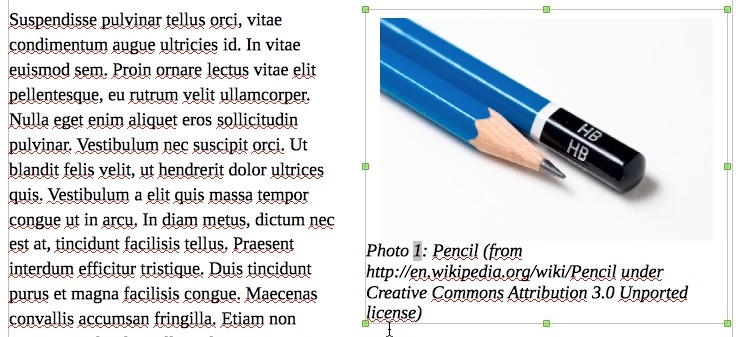
It should work fine for most cases, but sometimes we want the text to be continuous, with images fitted inside. In that case we want to wrap the text around the image, like this:

Page Wrap

Here is how to do it:

Step 1 — Resize Image

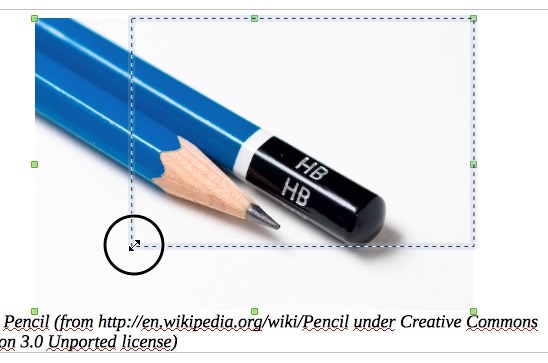
To have the text around the image we need to leave some space for the text. The image from the example is a bit large so we will need to resize it.

Resize Image

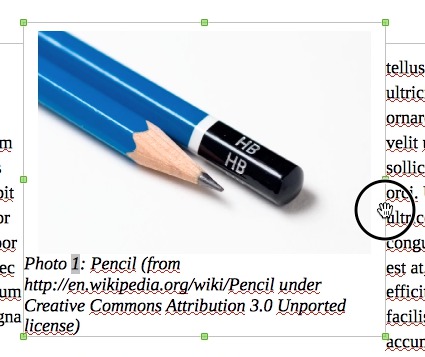
Step 2 — Resize Caption Frame

The image from the example has a caption, which occupies space too. Because of that we will need to resize it. If your image is not inside a caption frame, skip this step.

Resize Caption Frame

Step 3 — Apply Page Wrap

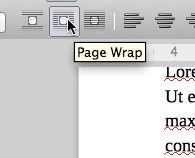
At this step, the image will be selected, which is revealed by green squares around it. At the top toolbar, click on the “Page Wrap” button. This will make the text go around the image.

Apply Page Wrap

Step 4 — Move Image

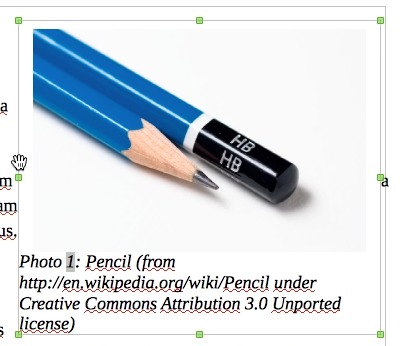
Usually, when we change to Page Wrap, the text goes around both sides of the image. For this example I prefer the image to be on one side, and the text on another side. So we need to move the image. Click on the caption frame grey line, and drag it.

Click on Caption Frame

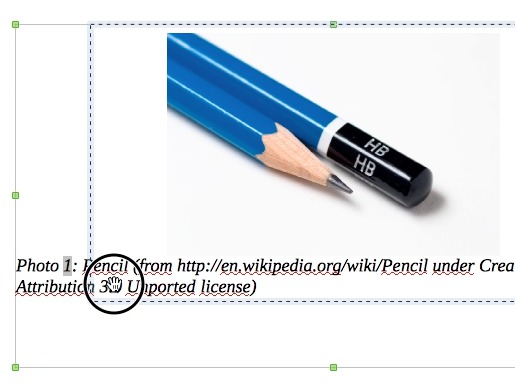
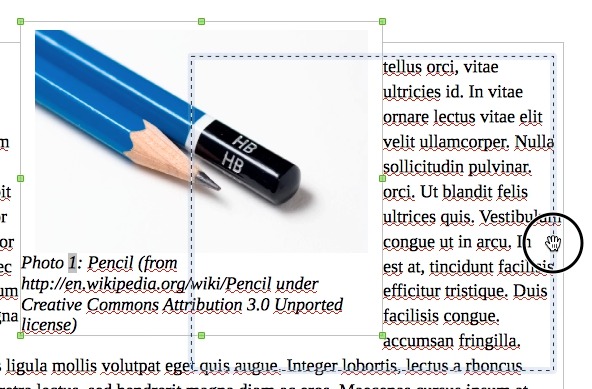
While it is dragged, a dashed outline is visible:

Moving Image

Step 5 — Add Spacing around Frame

To make the document more legible, we will add some space around the image. Click with the right mouse button on the caption frame grey line:

Click on the Caption Frame

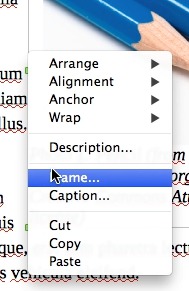
A context menu will appear. Click on “Frame…”:

Caption Frame Context Menu

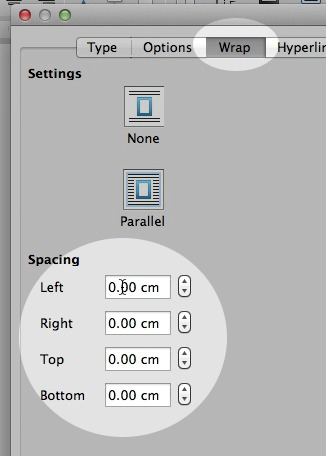
A new window with frame options will appear. At the top you can see the tabs. Click on the “Wrap” tab.

In the Wrap tab you will have a “Spacing” section. Add spacing on the left, right, top and bottom of the image. When you are done, click on the “OK” button.

Add Spacing

And that is it, the image will have text around it with enough space:

Image in Page Wrap

Video

Here is a video showing these steps:
How to Add Image Caption

Sometimes we want to add a small text next to an image. This post describes how to do it with LibreOffice. This is similar to how is done with OpenOffice.

Step 1 – Select Image

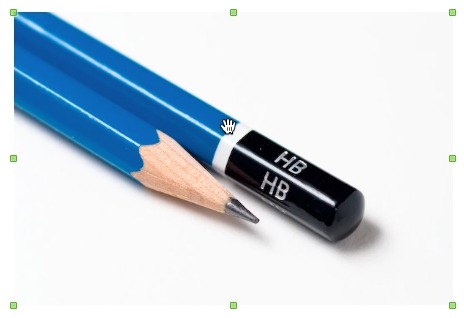
Click on the image to select it. You know it is selected because of the green squares on its edges.

Select Image

Step 2 – Insert Caption

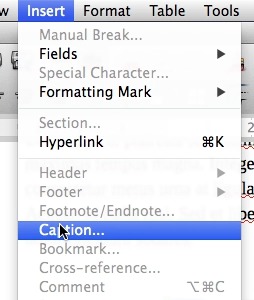
On the top menu click on “Insert > Caption…”. This will open the caption edit window.

Insert Caption

Step 3 – Select Category

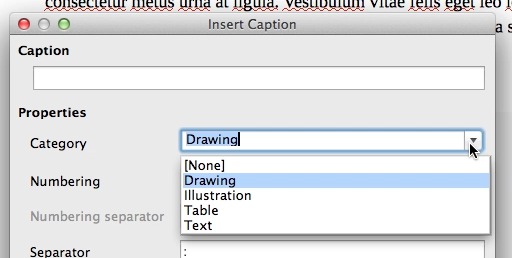
Each caption contains a number. This number is automatically updated when captions are added or removed and can be used for creating an image index (more on this in a future post). We can have many series of numberings. For example, we may have drawings and photos in the document and want each to be classified differently. To allow that, we can select a caption category. The next number added to the caption will depend on the category.

In the “Insert Caption” window, we can see there are already some categories we can use:

Select Caption Category

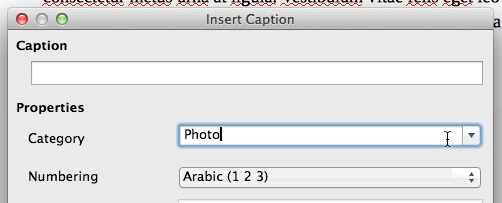
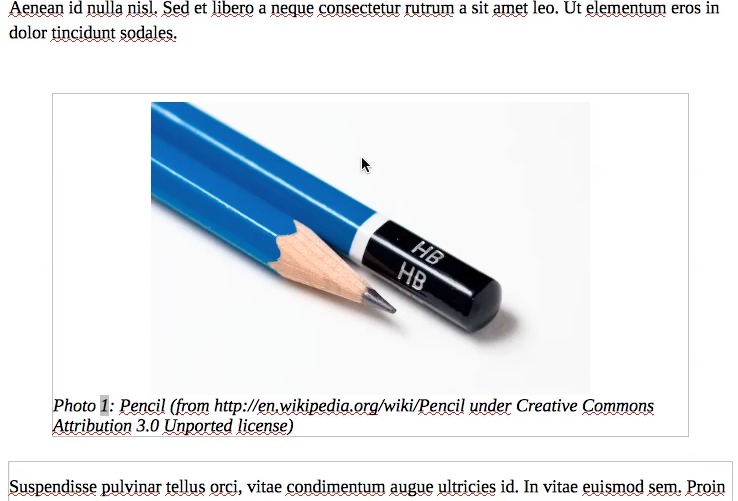
But we can create new ones by clicking on the input field, and writing any name we want. Given our example image is a photo of a pencil, a “Photo” category seems adequate:

Create New Category

Step 4 – Add Caption Text

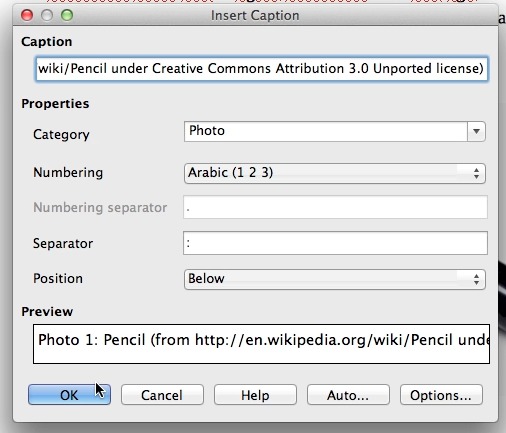
Write the text which will appear in the caption. Do not forget to refer to the source of the image if you were asked to do so.

Add Caption Text

After you are done, click on the “OK” button to create the caption:

Create Caption

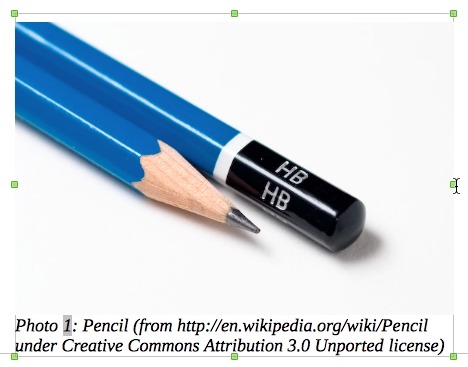
Image With Caption

Notice the grey background behind the number: it means this number is automatic.

Step 5 – Adjust Caption Area Size

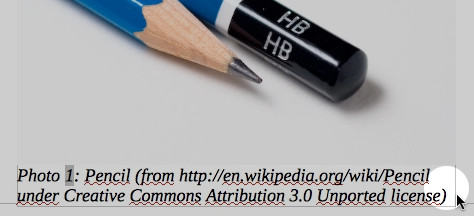
Depending on the layout of your document, you may not want a caption with two lines. For this example, the solution is to increase the width of the caption frame. To do so, first click anywhere in the document but not on the image. This will deselect the image, making the green squares disappear. Then, click on one of the grey lines next to the caption text.

Select Caption Frame

The green squares will be again visible, but now they are selecting the caption. Drag the right one to resize the caption frame:

Resize Caption Frame

Video

Here is a video showing these steps: